|
1.
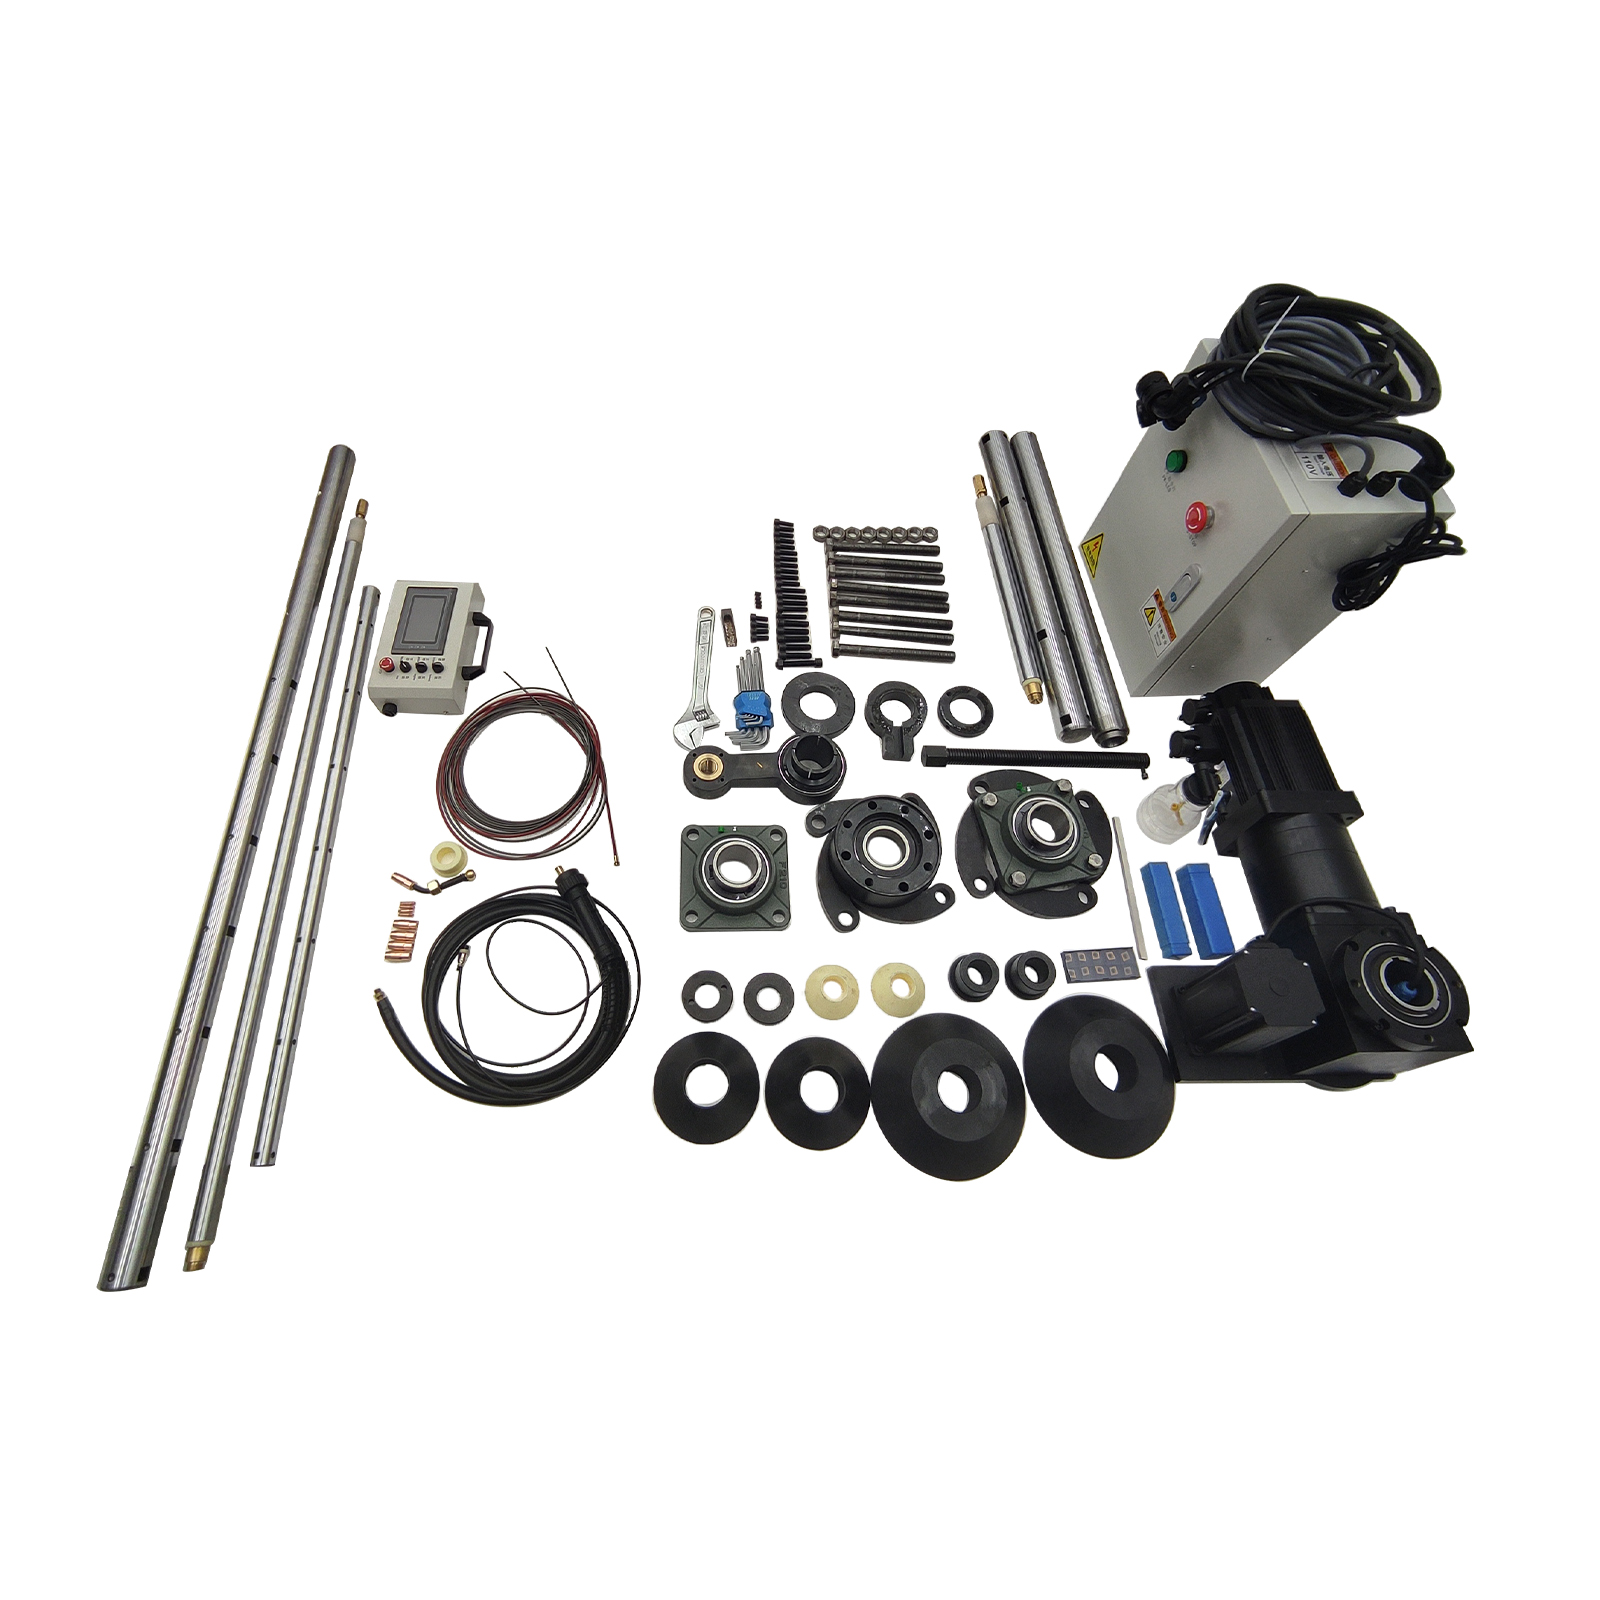
Support installation
A.
Positioning boring bar
Install
the fixing seat at the position where the workpiece is
allowed to be welded. First use the nylon positioning taper
sleeve to push the boring bar into the hole to be processed,
and clamp the positioning boring bar with the tool holder at
both ends to ensure the concentricity of the two holes.
B. Sleeve
the support into the boring bar, and weld the two supports
on the workpiece at a suitable position.
C. Remove
the positioning taper sleeves (make sure that the boring bar
can rotate freely and slide axially).
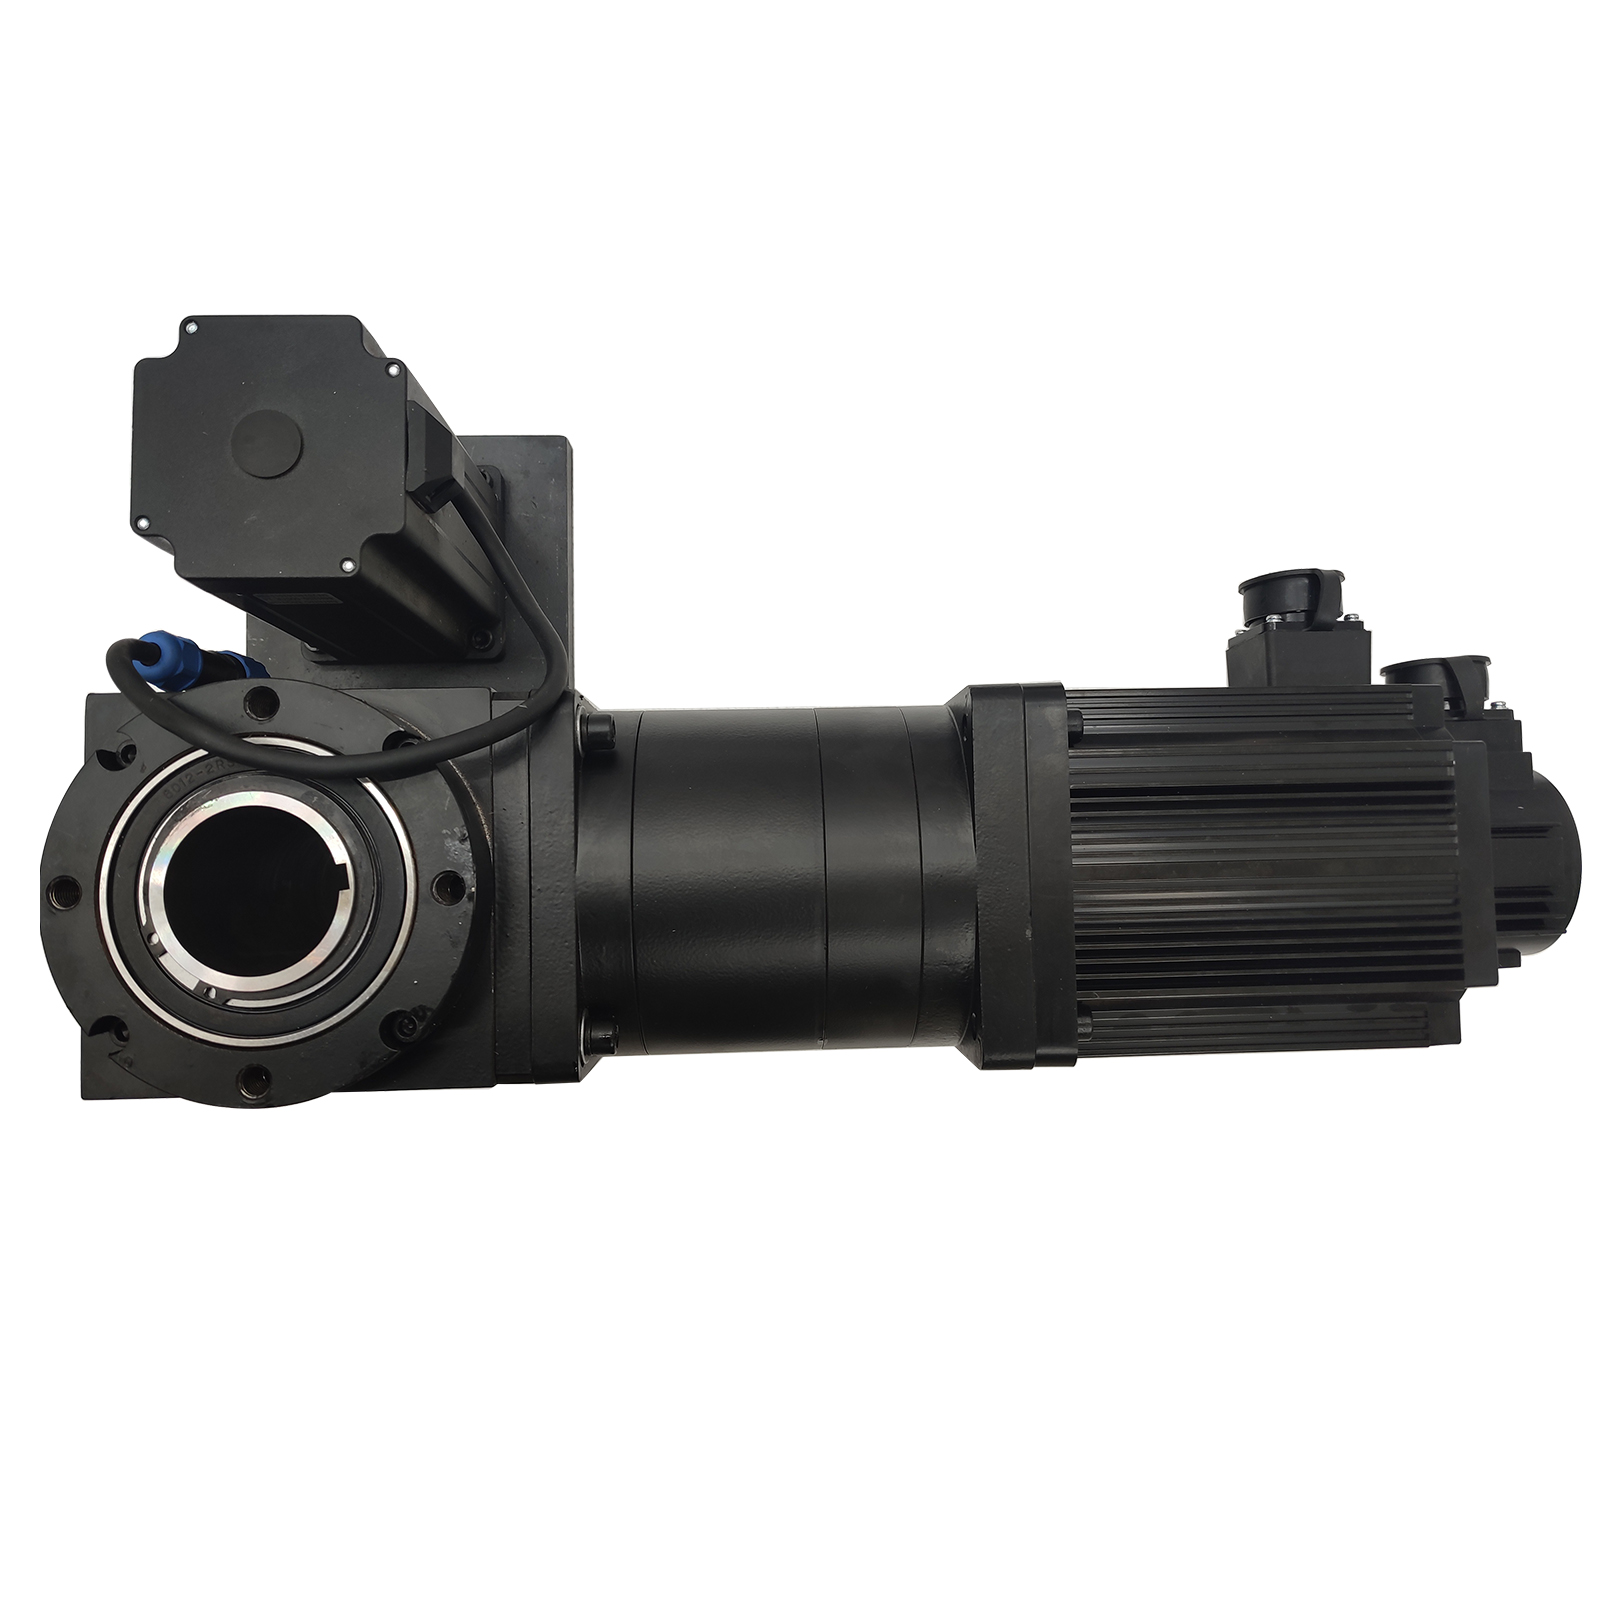
2 Install
the main part
A. Put
the main body part into the support .
B. Lock
the feed transmission connecting rod and the boring bar.
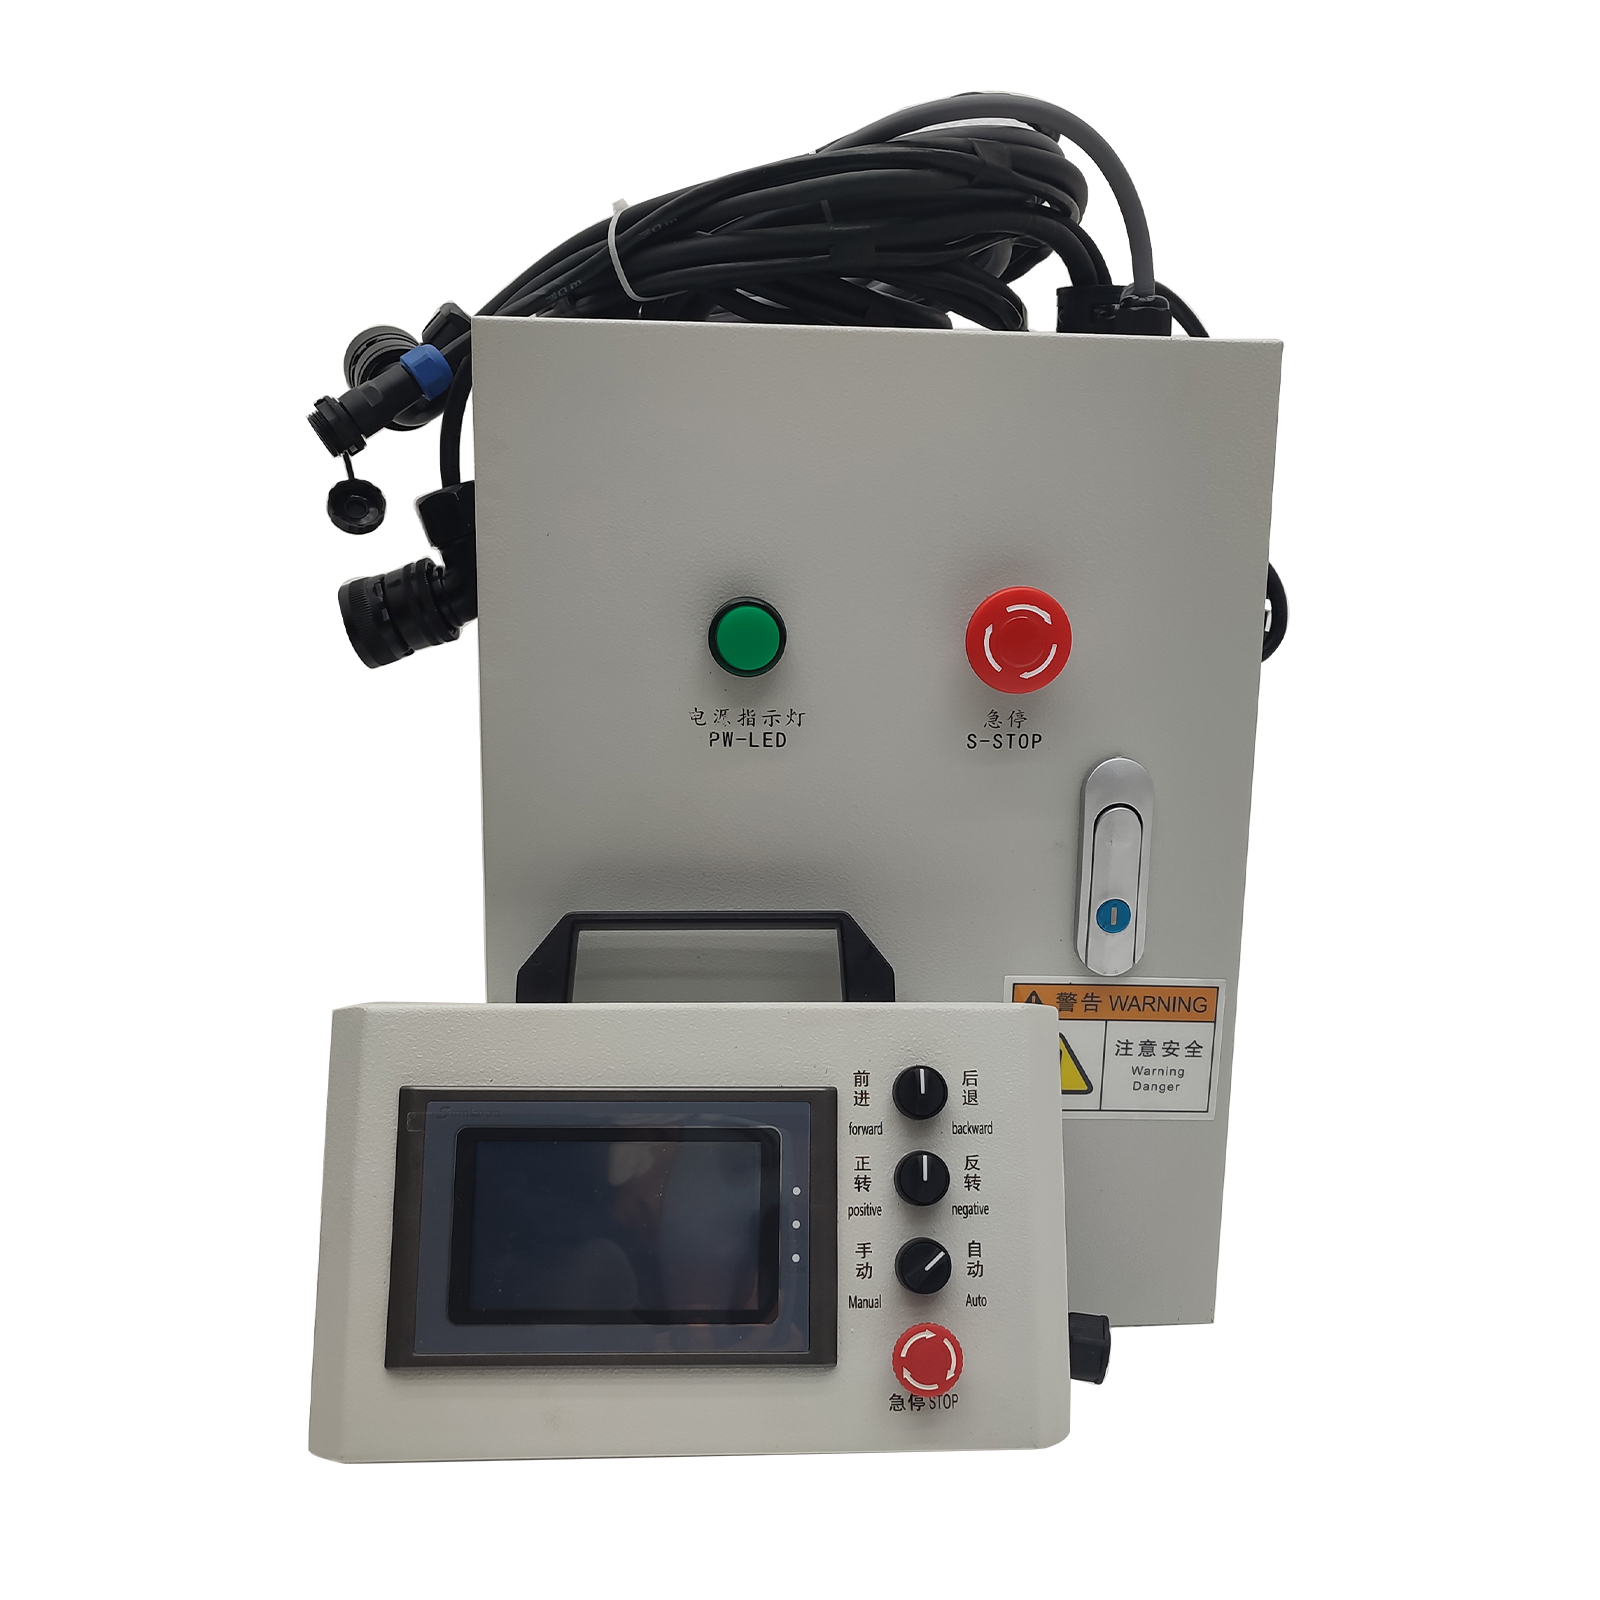
3 Connect
power
A. The
equipment requires a power supply voltage of 110V, and the
plug of the electric box is connected to a 110V power
supply.
4 Hole
welding process
A.
Replace the boring bar with a welding rod support rod,
insert the welding rod, install the welding torch head, and
ensure that the welding torch head is 10mm away from the
edge of the hole;
B.
Connect the back-end connection line of the welding rod with
the main welding machine connector;
C. First
start the feed motor, adjust the rotation speed, and finally
click the red button on the control handle to start
automatic hole welding.
5 Boring
process
A. Remove
the welding assembly and install the boring hole.
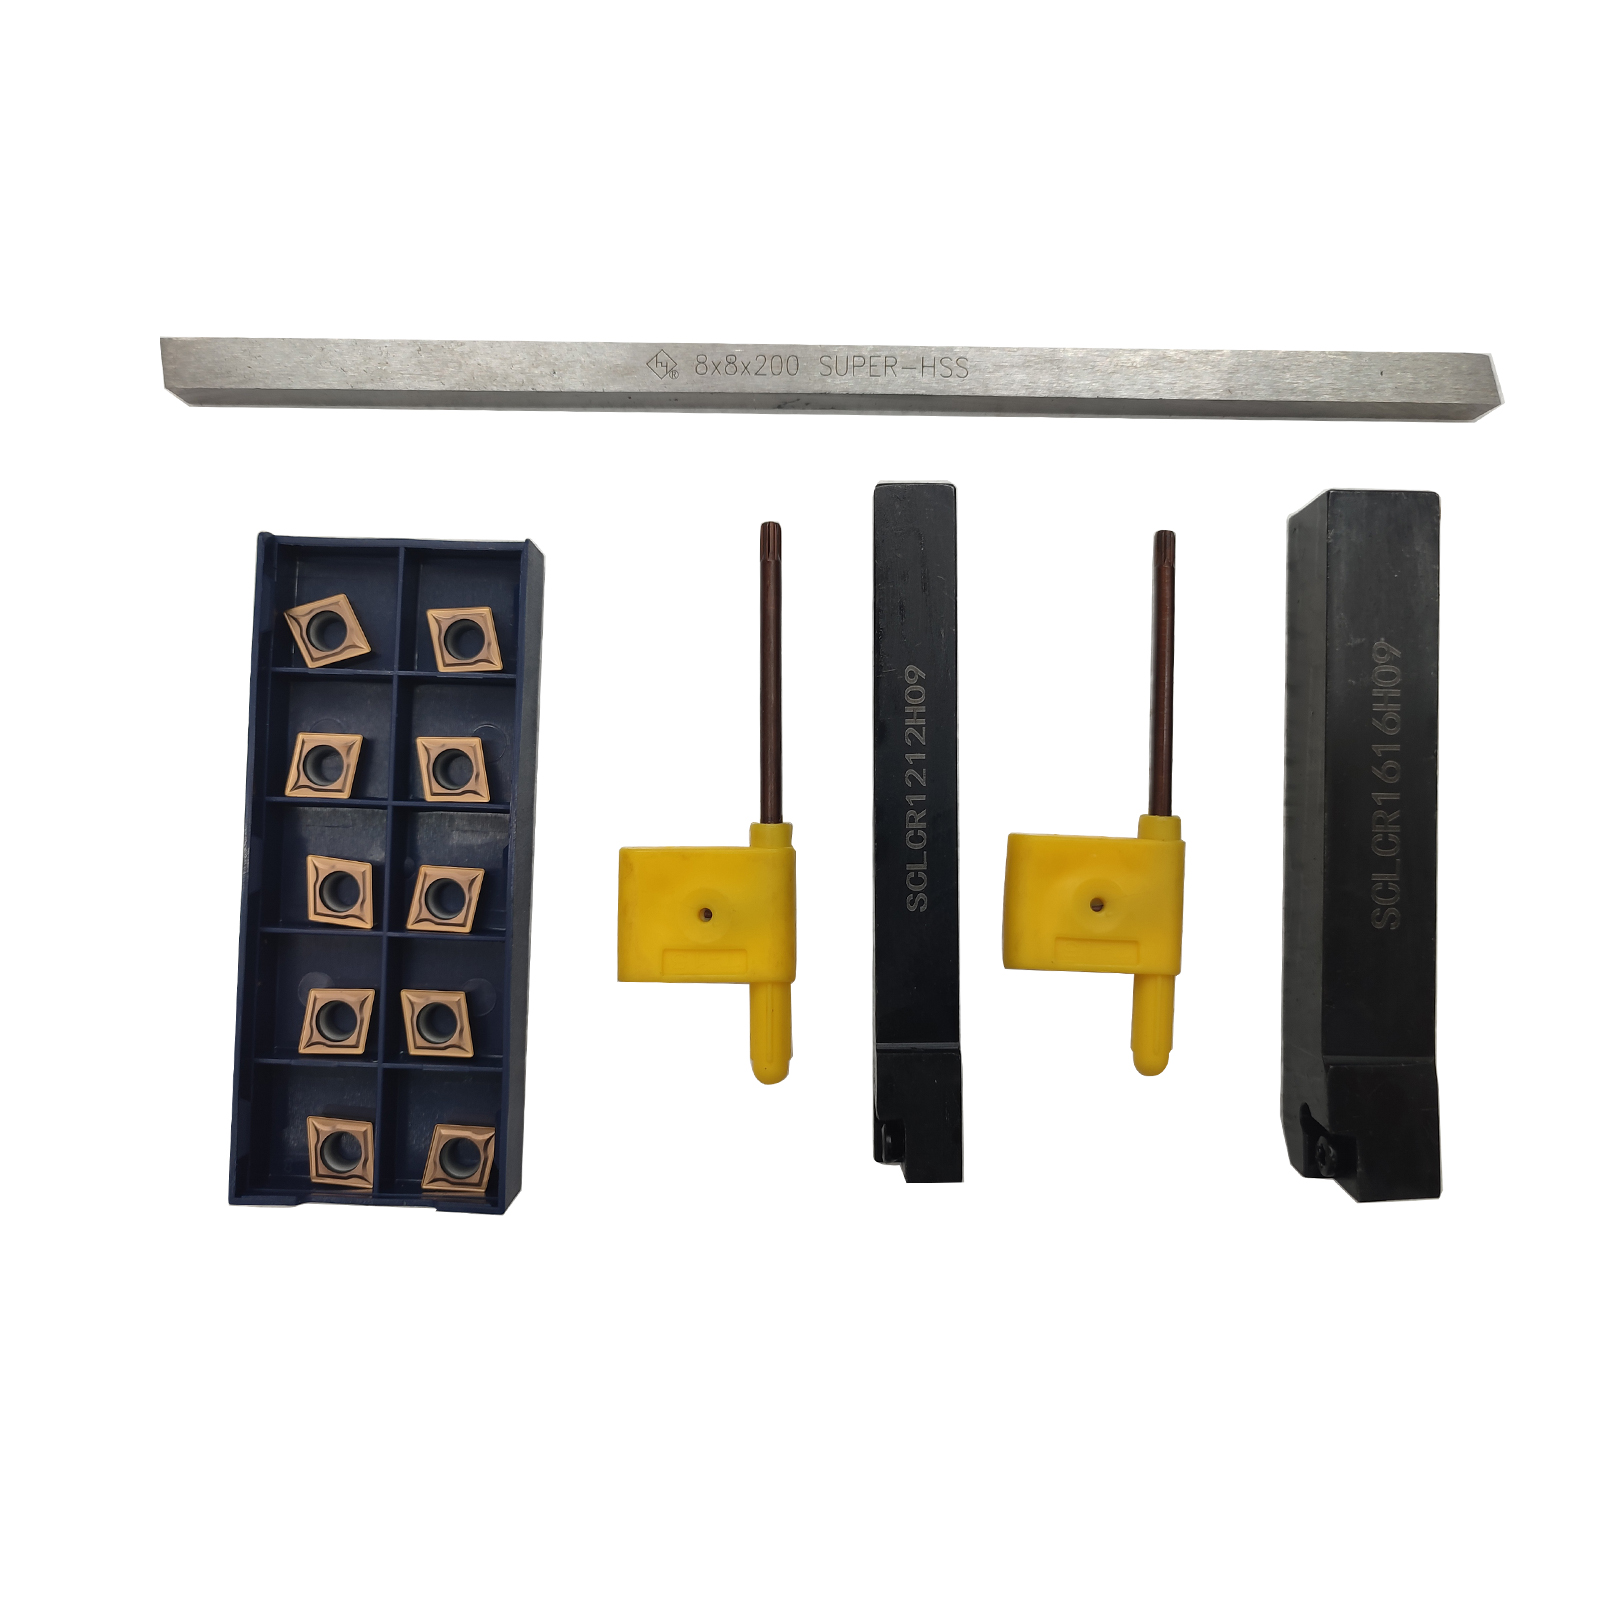
B. Choice
of tool holder
The hole
diameter is Φ55-100mm, and the tool is placed in the strip
groove of the boring bar and fixed with a compression screw.
When the
hole diameter is greater than 100mm, different tool holders
are chosen according to the size of the hole diameter.
C. Tool
installation. Fix the ground tool on the boring bar or the
tool holder according to the size of the hole to be
processed (the sharpening of the tool can refer to the angle
of the boring tool).
D. When
setting the tool, please select neutral, rotate the boring
bar, and adjust the tool so that the tip of the tool rubs
the surface of the workpiece (the tool must be installed
firmly).
4.5
During trial cutting, please select a single-side plunge
depth of 0.2~1.0mm for trial cutting.
4.6 When
processing, please arrange the feed amount reasonably
according to the size of the trial cutting, adjust the feed
knob, and adjust it slowly from zero generally in the range
of 0-10 on the knob when adjusting. It must not be too fast,
otherwise it will cause damage due to too fast feed.
4.7 When
machining, please select a reasonable tool and a reasonable
tool angle (refer to the tool angle of the boring tool).
|