|
1. Put the items that need to be dried
into the box, close the box door and tighten the door handle, close
the return valve, open the vacuum valve,
connect the air duct on the side of the vacuum drying box to
the vacuum pump with a vacuum rubber tube,
connect the power to the vacuum pump, and start pumping.
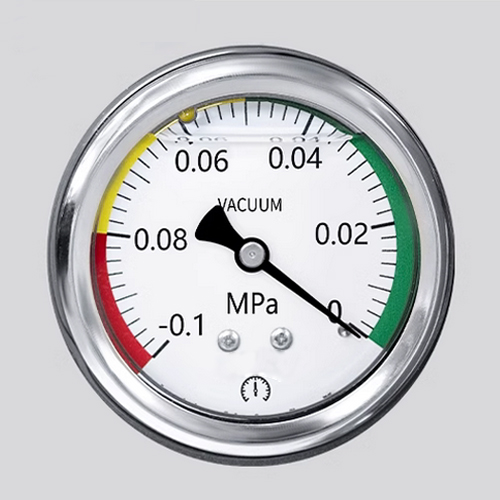
When the vacuum gauge indicates the
desired vacuum degree, close the vacuum valve first, and then turn
off the vacuum pump. At this time, the box
is in a vacuum state.
2. After connecting the power, turn on the
power switch and the indicator light will light up, indicating normal
operation. The instrument will display the
temperature of the studio, and then adjust the control instrument
to the set temperature. The studio will
start heating, and the green light on the control instrument will light
up, indicating power on and heating. After
the instrument remains constant for 60 minutes, the temperature
displayed on the instrument should be
basically consistent with the set temperature.
3. Choose different drying times for
different items and temperatures. If the drying time is long and the
vacuum degree decreases, it is necessary
to pump air again to restore the vacuum degree. The vacuum
pump should be turned on first, and then
the vacuum valve should be opened.
4. After the drying is completed, the
power should be turned off first, the return air valve should be turned
on,
the vacuum inside the box should be
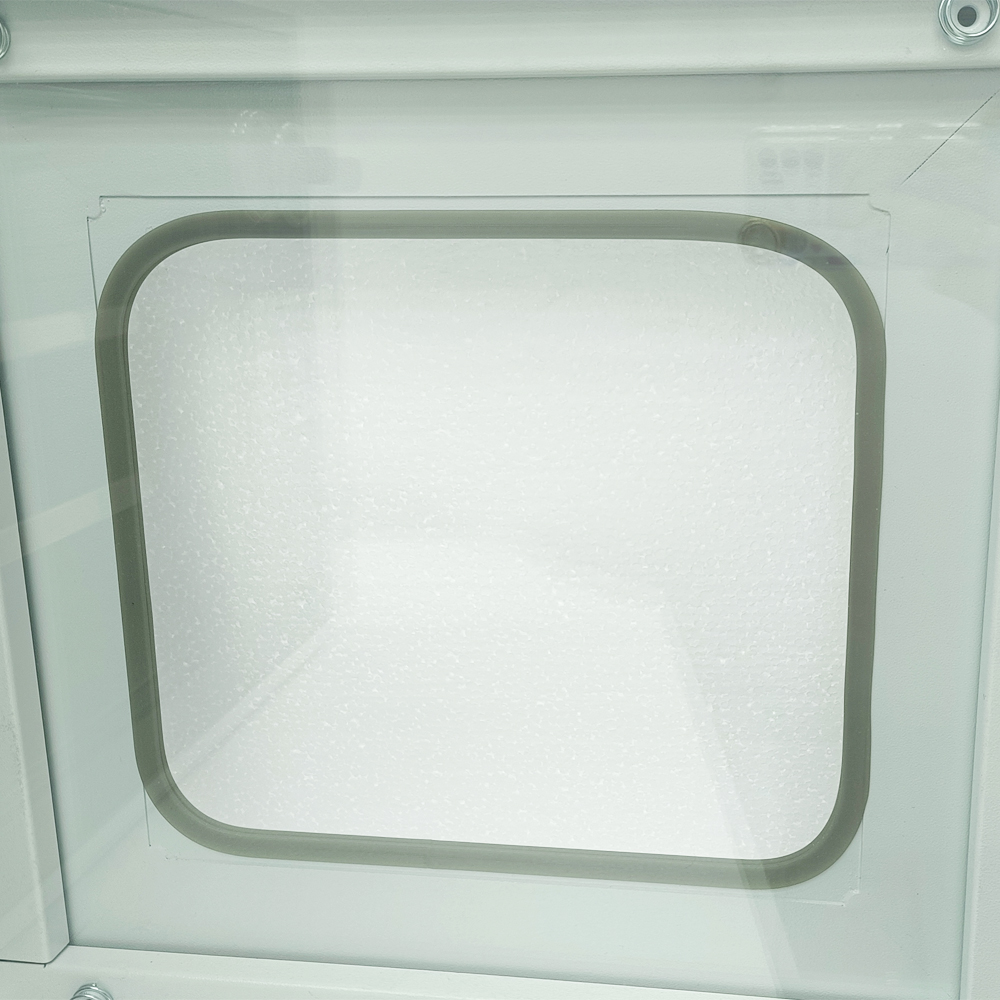
released, and the box door should be opened to remove the items(After
contact with the vacuum, the rubber ring
is tightly attached to the glass door, making it difficult to open the
box door. It will take some time for it to
be easily opened).
5.In a vacuum state, the control
temperature should not be lower than 50 ℃. If it is below 50 ℃, the
value tested by the standard thermometer
is different from the inconsistent display values on the instrument
panel are a normal phenomenon. This
phenomenon does not affect temperature control and temperature
above 50 ℃. |